FrameWizard
Overview
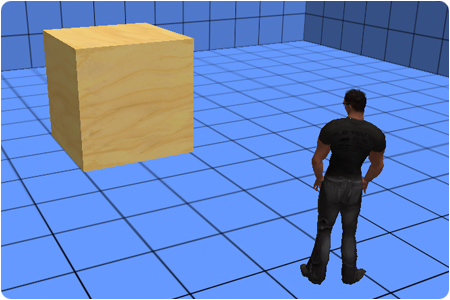
- Add a frame to any prim without using extra prims.
- Transforms a prim without losing the prim’s contents. Ideal for updating simple vendor displays.
- Choose from 12 frame textures and small, medium and large frame sizes.
- Simple menu-driven tool.
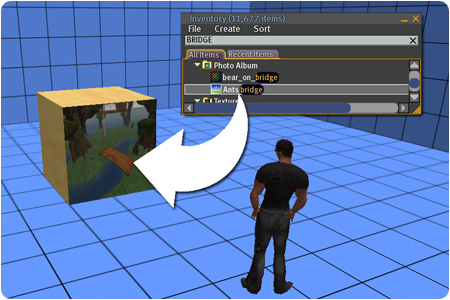
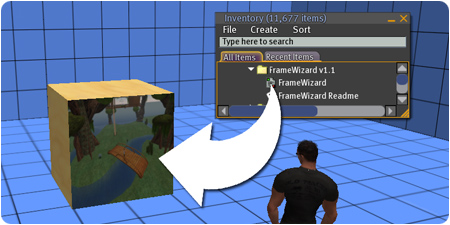
Getting Started
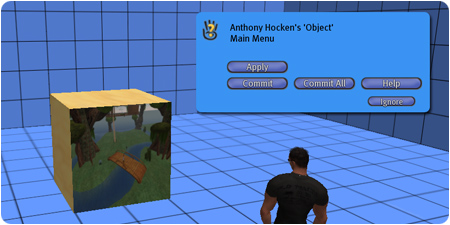
Menu Options
- “Apply”: Reshapes, resizes and rotates the prim.
- “Rotate”: Handy way to rotate the prim to 0,90,180,270 degrees.
- “Texture”: Allows you to pick any texture for the main image that was originally on the prim before it got reshaped.
- “Frame”: Apply one of 12 textures to the frame and backing.
- “Size”: Pick from 3 different frame thicknesses.
- “Commit”: Removes the FrameWizard script from the prim.
- “Commit All”: Removes the FrameWizard script from the prim, as well as any other prims in the surrounding area.
Frequently Asked Questions
- I Clicked “Apply” but my image has vanished!
- FrameWizard makes a best guess for which texture to use on the reshaped prim – it actually selects the texture from the side of the prim nearest to your avatar when you click “Apply”. But don’t worry, all the original images from each side of the prim were stored. So you can cycle through those images until you find the one you want. Use the “Texture” button for this.
- I clicked “Apply” then my prim has vanished!
- This can happen in the following scenario. If your original prim is placed against a wall but the centre of the prim is inside/behind the wall, then after FrameWizard has reshaped the prim, it may not be thick enough to allow the prim to poke out of the wall. Therefore it’s best to ensure that no part of a prim is inside a wall/floor/ceiling before clicking “Apply”.
- Why give FrameWizard away for free?
- FrameWizard is a stripped down version of an old project I was working on and it doesnt include all the functionality I had planned. Namely a templating system. It worked, but it was a little buggy so that got stripped out for now. So to celebrate the launch of my new shop in the Babeli sim I decided to give this version away for free. Enjoy!
History
- Version 1.1
- It now checks asset permissions for all textures before attempting to add a frame. If the key for any textures can not be retrieved then this tool will refuse to continue because since SL v1.6.5 it’s likely you’d lose the texture. This safeguard is because the tool needs to move the main texture to side 0 if it’s not already there, and if it can’t retrieve the key then the texture will be lost.
- Version 1.0