Customize
Here are the steps needed to customize Prim Finder 2.0 so that the prims it creates show you as Creator.
Note: If you’re using an old version please upgrade it first. Visit our store and click the “Upgrade” button on the Prim Finder vendor.
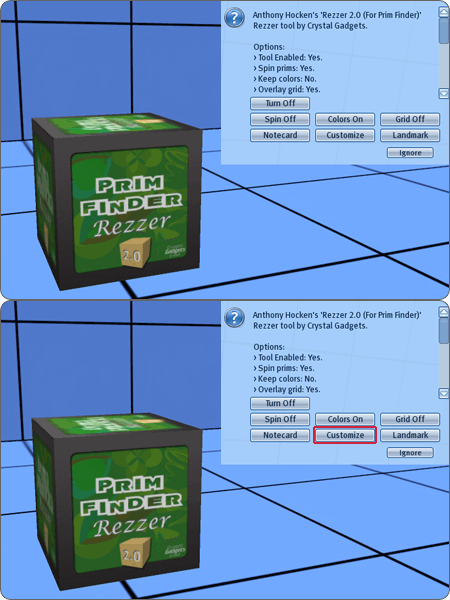
- Step 1: If you haven’t done so yet, drag Rezzer from your inventory to the ground, then click it and select “Customize” from the menu. You will receive a file named “Rezzer Script”.
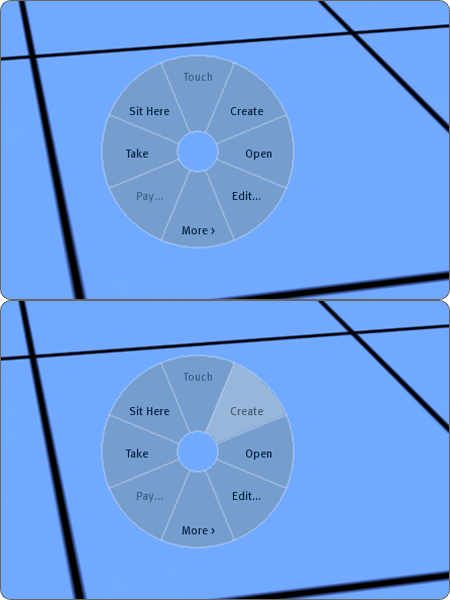
- Step 2: Right-click the ground and select “Create“.
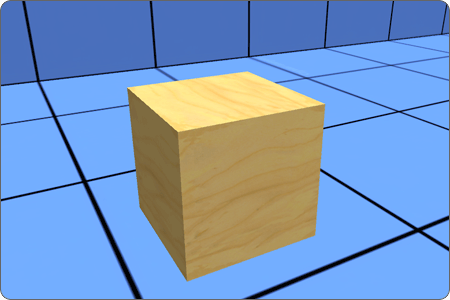
- Step 3: Click the ground. A new prim will be created.
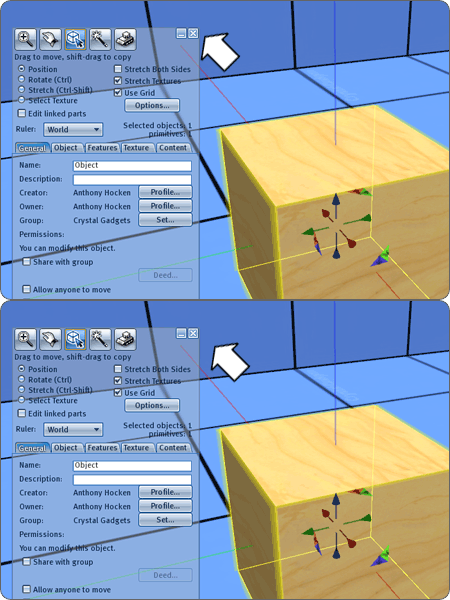
- Step 4: Close the edit window.
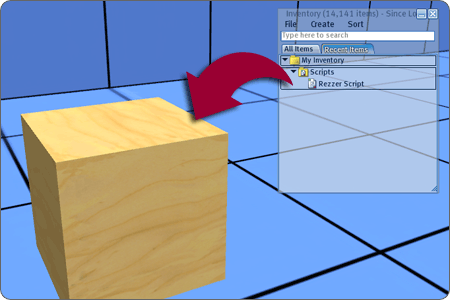
- Step 5: Drag “Rezzer Script” from your inventory onto the new prim. It will turn white.
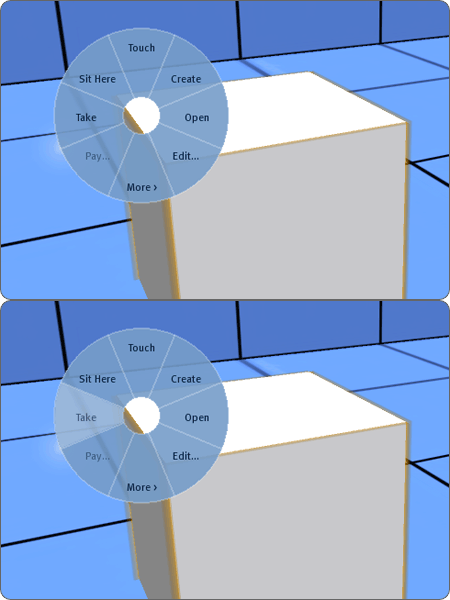
- Step 6: Right-click the prim and select “Take“.
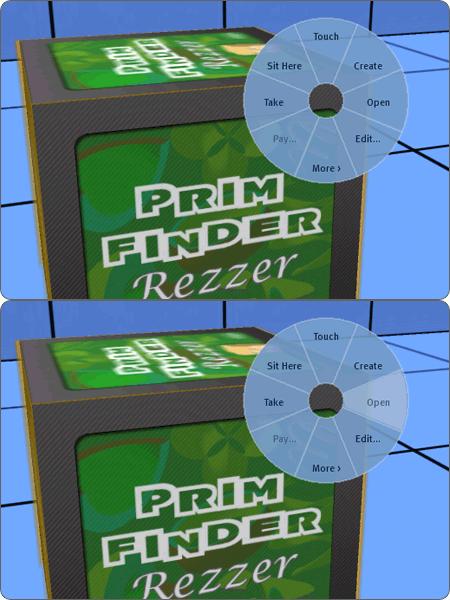
- Step 7: Right-click the Rezzer and select “Open” to see the contents.
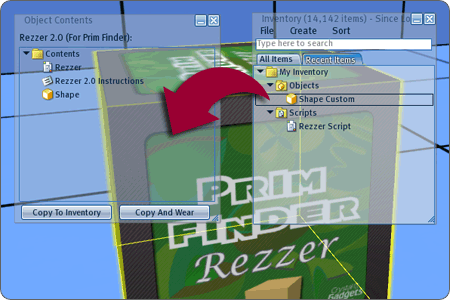
- Step 8: Drag “Shape Custom” from your inventory into the Rezzer’s contents.
- Step 1: Select a shape on your Prim Finder (anything other than the default cube) then click the Rez button.
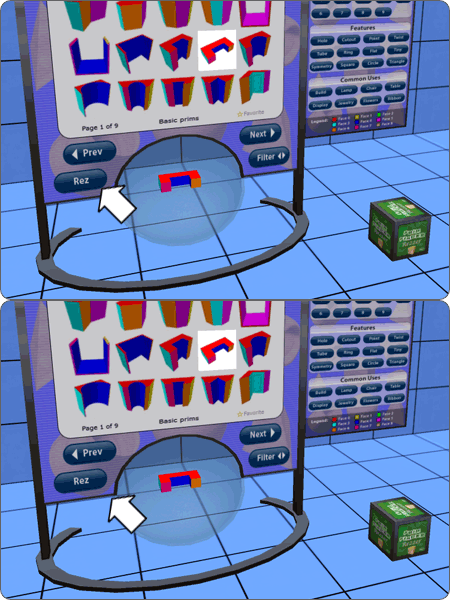
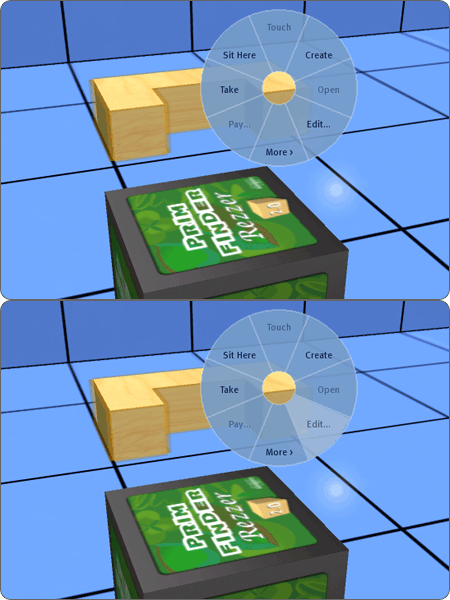
- Step 2: The prim will be created. Ensure that it’s the prim shape you selected. Right-click that prim and select “Edit”.
- Step 3: Check that the Creator shows your own avatar name.
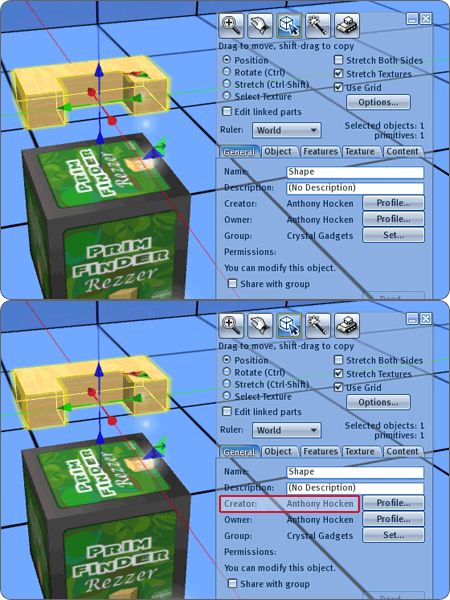
Congratulations! You now have your own customized Rezzer. The Rezzer will automatically rename itself to include your avatar name. This will help you locate this Rezzer in your inventory.
Rezzer Test
Follow these steps to test that you’ve customized your Rezzer correctly.

