Photoshop Guide
These instructions explain how to make your own texture atlas using Adobe Photoshop, but it should also work in other graphic editors which support the .PSD file format. The template files consist of a grid layout with Guides so you can quickly snap your sub-textures into place.
- Step 1: Download one of these template files. The textures with 512×512 pixels load faster but have less detail. In this example we’ve used the 512x512px 4×4 option.
512×512 pixels 2 x 2 grid 4 x 4 grid 8 x 8 grid 1024×1024 pixels 2 x 2 grid 4 x 4 grid 8 x 8 grid - Step 2: Open the template file in Photoshop.
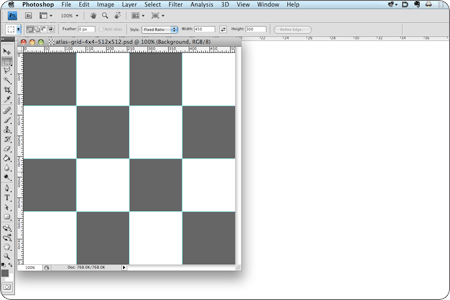
- Step 3: Open an image which you want to add to the texture atlas.
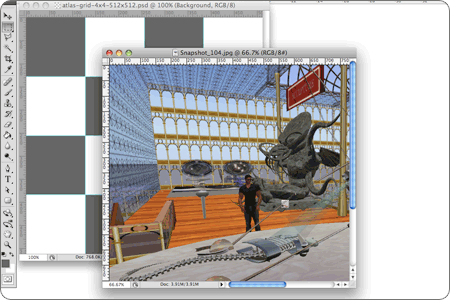
- Step 4: Drag the image onto the template file.
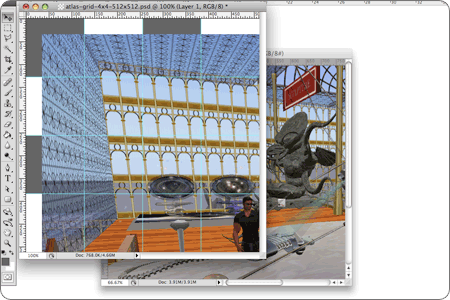
- Step 5: Press Ctrl+T (Cmd+T on Mac) then drag and resize the image until it’s fully within the texture area.
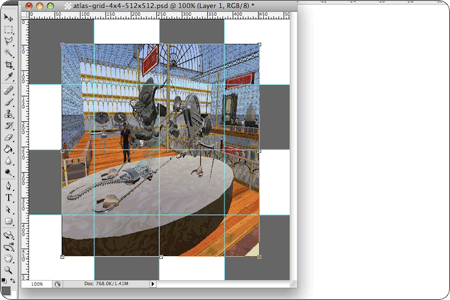
- Step 6: Drag the image until it snaps into the top-left corner of the grid cell.
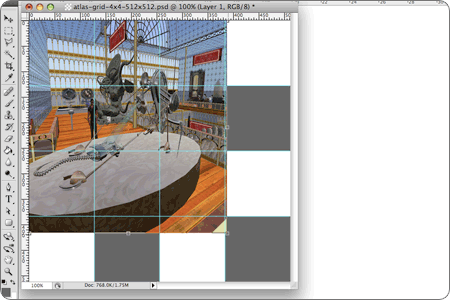
- Step 7: Resize the image until the bottom-right corner snaps into place. Then press Enter to commit the change.
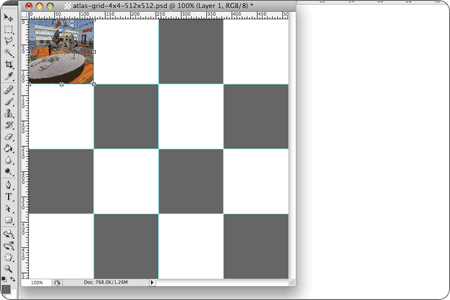
- Step 8: Repeat steps 3 to 7 for every other image you want to add until you’ve built up your texture atlas.
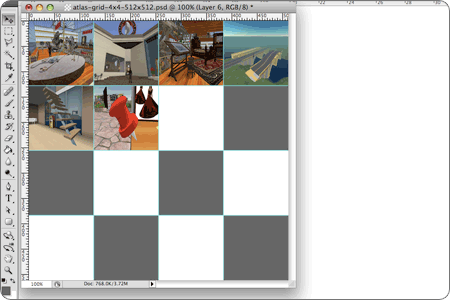
- Step 9: You may like to hide the “Background” layer, though it shouldn’t matter. Save the image as a Targa (.tga) or Jpeg (.jpg) image, then within Second Life select from the main menu: “File” > “Upload” > “Image“. Linden Lab will charge you L$10 to upload the texture. The texture will be placed in your inventory and you can follow the instructions on the previous page to apply it to a prim.

